
Operations is one of the most crucial aspect of any business despite the industry. Without proper system in place to manage, it might get hectic real quick especially if it involves field work. To ease up the processes of field work, businesses seek to use business ready field management software.
One such field management suite of software is Jobber. Jobber helps you schedule seamlessly, ensures your invoicing, client communication, and team coordination are all in perfect sync.
On the web front, WordPress is the most sought-after Content Management System (CMS) for every business ranging from small to medium-sized. It only makes sense to integrate these two, yes? As your business grows, you cannot pull the strings from both ends. Integrating Jobber with WordPress will result in an end-to-end sync of all your processes.
The primary aim of the integration is to automate the process of creating clients in Jobber based on the leads you receive on WordPress. Manually, going through all the leads you have received every day and converting them into jobs in Jobber can be hectic and time-consuming. Especially, if your online game is strong and you have hundreds of leads flowing every day, it is very inefficient and prone to error. Losing a lead due to human fatigue is the last thing a business would need. There are typically two ways you can get around Jobber WordPress integration,
1. Using Off-the-Shelf Thirdy Party APIs like Zapier
2. Using Custom Integration
We’ll walk you through both these steps so you’ll have a better understanding and you can decide on your own.
Zapier - The Costlier Way
Step 1: Sign Up & Log In
- Sign up for accounts on Jobber, WordPress, and Zapier if you haven’t already. It’s fairly easy and straightforward. I am sure you already have an account on WordPress and Jobber if you are on this page. In that case, just create the Zapier account.
- Then Log in to your respective Jobber and Zapier accounts.
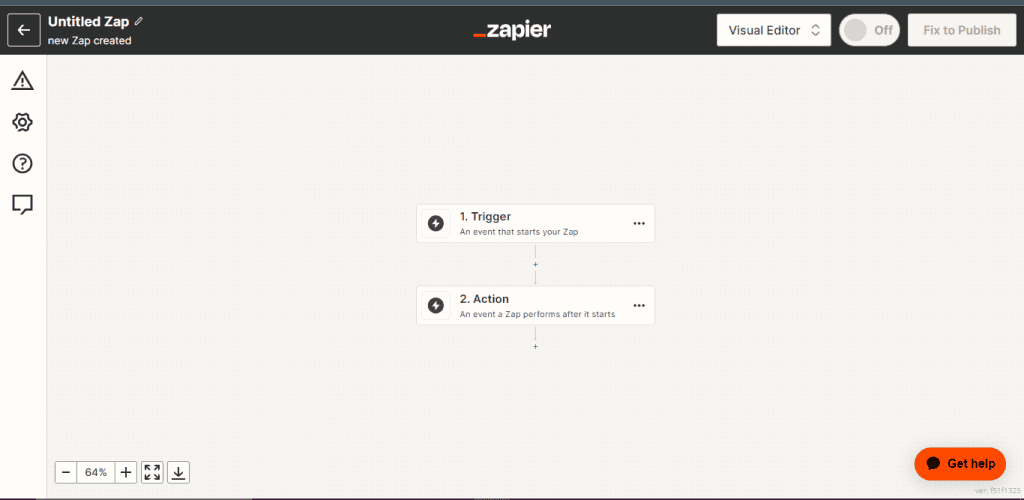
Step 2: Create a new “Zap”
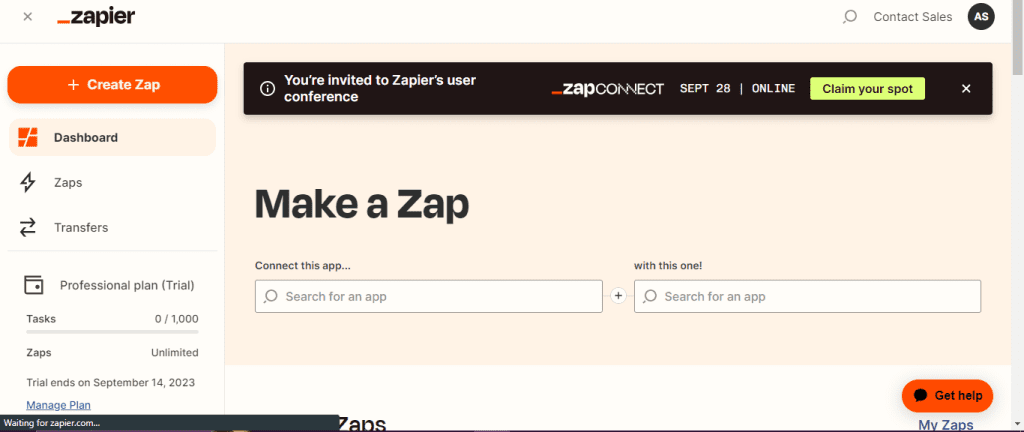
- In your Zapier dashboard, click the “Create Zap" button. This will initiate the process of creating a new Zap.
Step 3: Set Up the Trigger
- In this case, the trigger is the lead data in your WordPress website. Whenever there is a lead form filled out on your website, you need a new client created on Jobber based on it.
- There is a limitation with Zapier that you would be facing while creating your trigger. There is no option in Zapier to fetch form data directly from WordPress. Hence, you should choose the trigger ‘New Post’ like in the picture below.
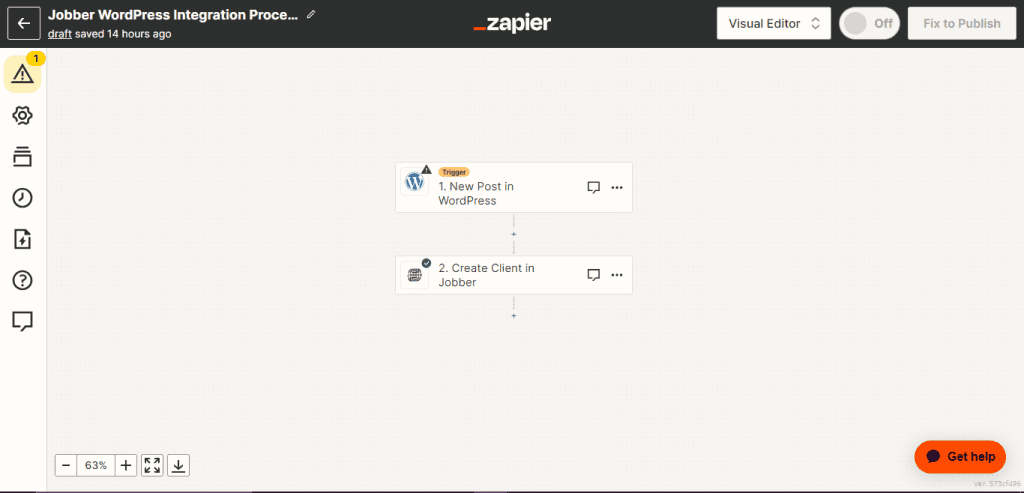
- On WordPress, what you need to do is set up an automation that converts all form data into a custom post type with all the relevant fields so that it is mapped to Jobber. You would need developer support to achieve the same.
- Once you select New Post, Click “Sign In” under the “Account” section and follow the upcoming prompts to connect with your respective WordPress admin.
Step 4: Setup the Action
- The next process is to setup the action that should happen when the trigger event happens. In this case, we need to create a new client in the Jobber platform.
- Luckily, Zapier has a default action for creating a new client and you can setup that as a action.
Step 5: Test Your Trigger

- Test the trigger to ensure it’s working correctly. Zapier will pull in sample data to help you set up the subsequent steps.
And we’re left with no more steps, that’s it! Using Zapier for Jobber WordPress integration is very simple as we’ve seen here. However, sometimes an easier solution comes with a bitter taste afterward. For this, it is the pricing structure of Zapier.
To use Zapier for Jobber WordPress integration the pricing starts at $20! (It’s actually a cent less than I mentioned if you mind accuracy 😅) However, the pricing of Zapier is based on the number of tasks performed. To give you context, one task consists of one action which can be anything from trigger or action. So, essentially you would be doing two tasks to transfer one lead from your site to Jobber. If you have a strong online game and the number of leads is massive, your bill every month might range above $100 every month.
If your business is anywhere between small to mid-sized, choosing this method is indeed not a good option. Well, we’ve got you covered on this one!
Custom Integration: One-off and Cost-Effective Way!
We have to warn you before we begin explaining the steps used for Jobber WordPress integration, It’s going to be a bit technical. So, long story short, you can hire expert developers like us to integrate Jobber with WordPress using custom code.
With custom integration, there is no monthly subscription cost or task cost involved.. It’s a one-time investment for your business and the integration would last for a lifetime. We would also help you troubleshoot if any issues show up.
Steps To Integrate Jobber with WordPress:
1. Creating an Account & Application
To start your Jobber WordPress integration using custom code, you should have a Jobber developer account.
You will then have to create an app in the Developer Center in order to access the Graphiql docs and schema in GraphiQL
Fill in the required fields to get started. App name and description can be edited anytime so you can spare less time on this.

2. Fetching Client ID
Once you provide the required information, you’ll asked to allow the following permissions in order to reflect the WordPress leads on your Jobber instance.

3. Authorization Code
Before we move further with the steps, an Authorization flow needs to be created in order to fetch the “access token” or “refresh token”.
Depending on the logic or usage you need to choose between Access Token and Refresh Token.
For example, If you want the user to stay logged in on your site even though they’re idle, a Refresh token is the way to go. Similarly, if you want the user to log in with their credentials after an idle time (Usually, an hour), an access token would be your go to.
Once you choose and are done with the process, the result will look similar to this.
{
“access_token": “eyJ0eXAiOiJKV1QiLCJhbGciOiJIUzI1NiJ9.eyJ…MH0.FAz4g5Q-UugrsjU4OuSB0PwHXDqsxcc-mRa4BW2lNJw",
“refresh_token": “5dd9bed1bd99b837cd3acaf2f59fb8fa"
}
4. Testing The Code Using GraphiQL
Once you fetched your desired token, It’s time to make custom edits to your application using GraphiQL.
GraphiQL acts as a mediator when it comes to this integration. You can make your desired edits to the application using a pre-built set of operations through GraphiQL to test your custom code, like below.
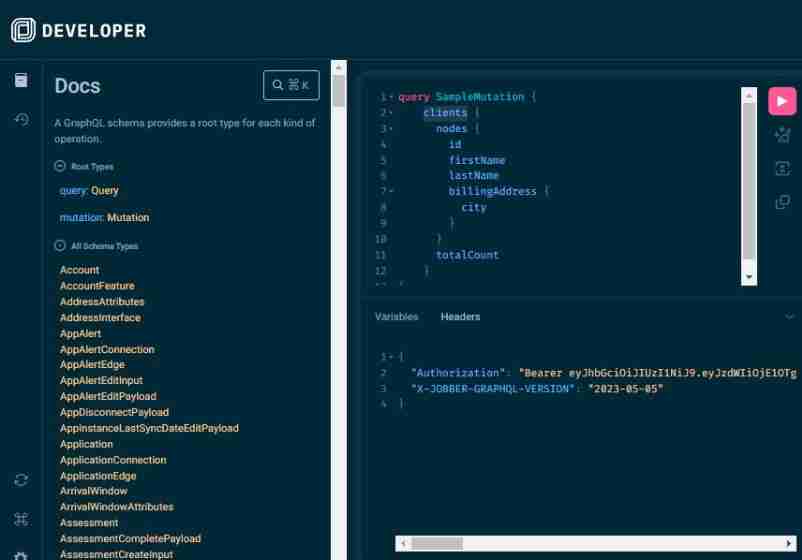
For instance, if you want to create a new client on your Jobber whenever you’ve got a new lead or a new job post, you can do so by making changes to Query and Mutations using GraphiQL.
Once the test has been successfully run through and working you can add your custom code to the vital codes of your website. And just like that, we’ve successfully finished all the steps for Jobber WordPress integration!
Hey, we know what’s going through your mind. You don’t have to sit, learn, and code your way to integrate Jobber with WordPress. This is exactly where we come in!
Our developers can integrate Jobber with WordPress in a nick of time. What’s the point of subscribing to any third party plugin when you can find a one time solution at a much lower cost anyway?!
Conclusion:
There’s no denying that Integrating Jobber with WordPress will result in ultimate efficiency. But how you would like to integrate these two is the primary question that you have to ask yourself. Are you going to choose the pricey way or do you want the expertise of a WordPress development team to do it?
Just a friendly reminder, You’re just one call away from integrating Jobber with WordPress permanently at a much lower price than third party APIs!
Need technical assistance?
Schedule a 30-minute discovery session with our Magento architects.
FREE CONSULTATION